Applications
Purple Pi OH2 Docker Node-RED Home Assistant
This section focuses on learning essential tools such as Docker, Home Assistant, Node-RED, and OpenCV on the Purple Pi OH2. These technologies enable you to build, deploy, and manage smart applications ranging from IoT automation to computer vision systems. By setting up containerized environments, visual programming flows, home automation platforms, and image processing capabilities, the Purple Pi becomes a powerful edge computing device for real-world industrial and smart system applications.
Docker Setup on Purple Pi OH2
Overview
Docker is a platform that allows you to run applications in lightweight containers. On the Purple Pi OH2, Docker helps you deploy and manage applications efficiently without worrying about system dependencies.
Install Docker
Update Package List
Install Docker
Verify Installation
You should see the installed Docker version.
Configure Docker
Edit Docker Daemon Configuration (Optional)
Restart Docker Service
Run Docker Without sudo
Add User to Docker Group
Apply Group Changes
Re-login
- Exit all SSH sessions
- Close terminals
- Log out and log back in
Test Docker Installation
Run Test Container
Expected Output
- Docker pulls the
hello-worldimage - A confirmation message is displayed
Node-RED Installation
Overview
Node-RED is a flow-based development tool for visual programming, widely used in IoT and industrial applications. On the Purple Pi OH2, it allows you to connect hardware devices, APIs, and online services using a browser-based editor.
Install Node-RED (All-in-One Script)
The Node-RED team provides an official installation script that installs:
- Node.js
- Node-RED
- Required dependencies
Run Installation Script
bash <(curl -sL https://raw.githubusercontent.com/node-red/linux-installers/master/deb/update-nodejs-and-nodered)
This process may take some time depending on your internet speed.
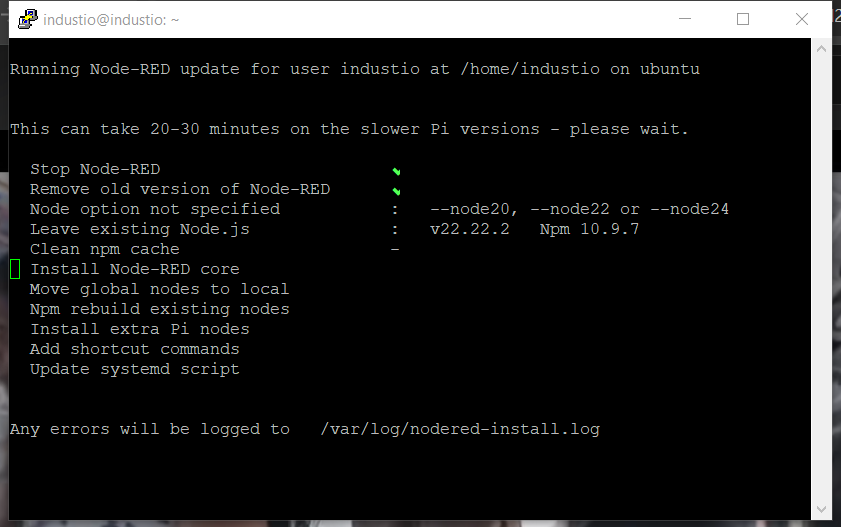
Installation Prompts (Recommended Settings)
During installation, you will be asked several questions. Use the following answers:
- Node-RED settings file initialization → Press
Enter(default) - Share anonymous usage information →
No - User security →
No(can enable later) - Projects feature →
No - Flow file →
flows.json(pressEnter) - Encrypt credentials file → Press
Enter(skip) - Editor theme/style → Default
- Text editor component →
Monaco - Allow external modules in function nodes →
Yes
Node-RED Control Commands
After installation, use the following commands to manage Node-RED:
Use node-red-start to start Node-RED
Use node-red-stop to stop Node-RED
Use node-red-restart to start Node-RED again
Use node-red-log to view the recent log output
Use sudo systemctl enable nodered.service to enable auto-start at boot
Use sudo systemctl disable nodered.service to disable auto-start at boot
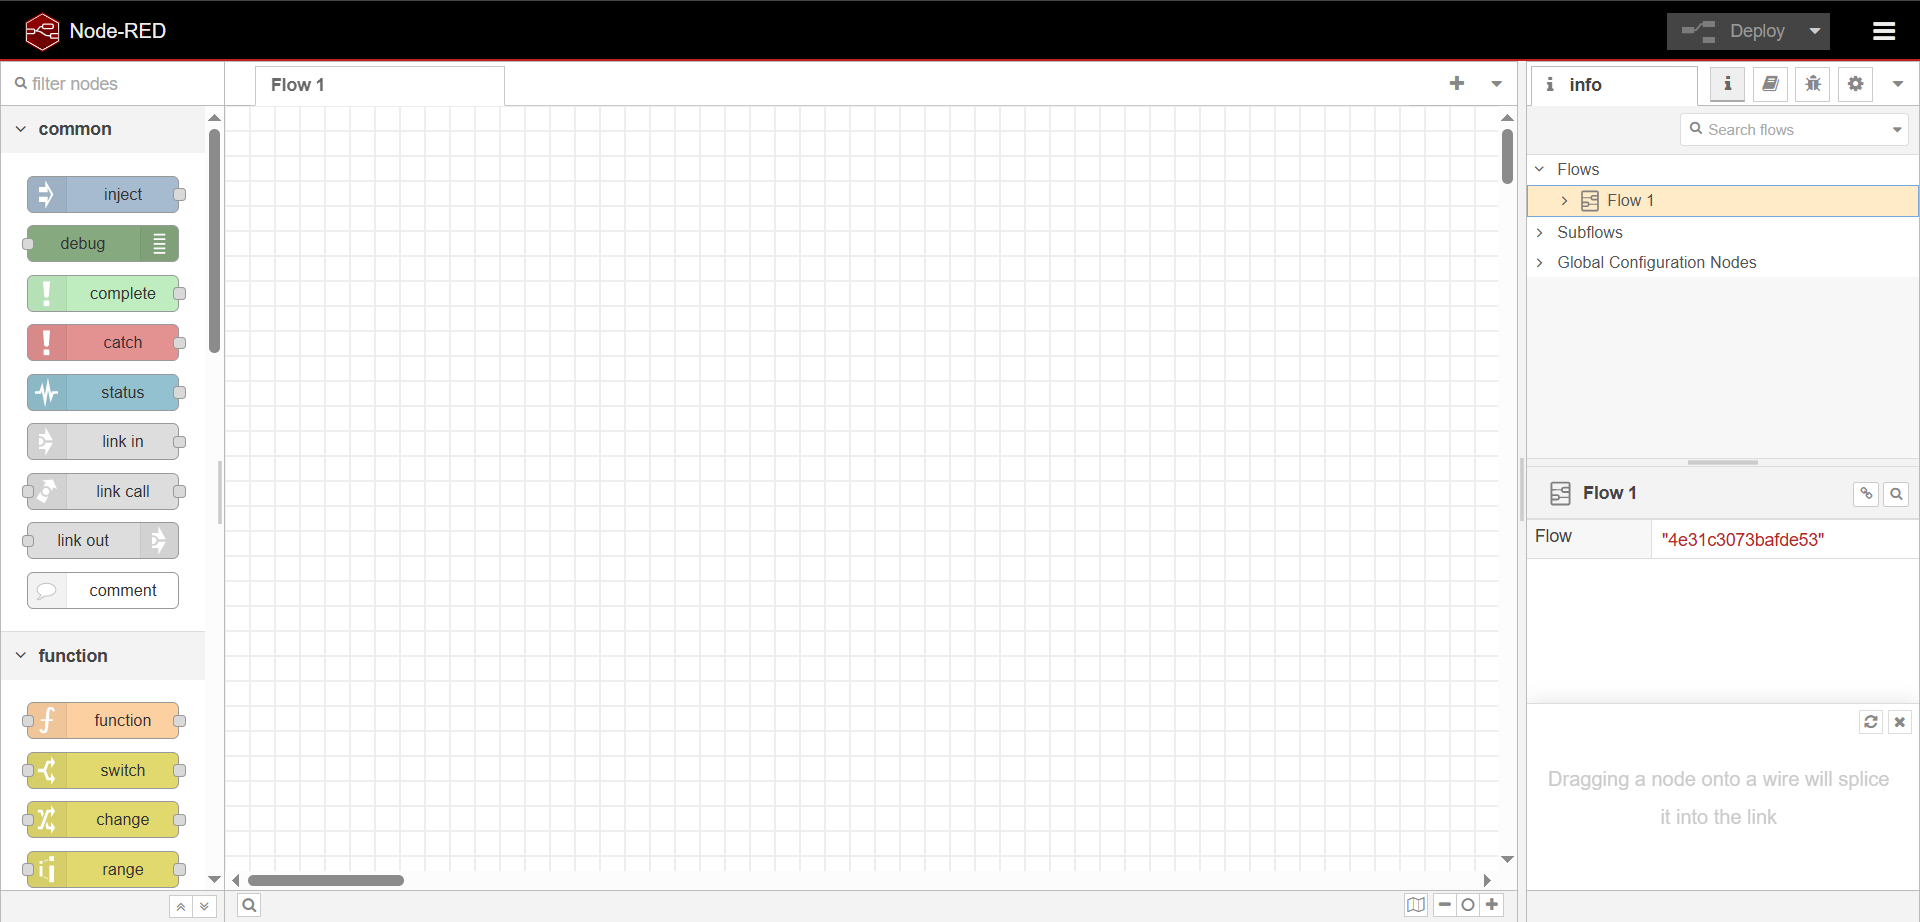
Access Node-RED Editor
Open in Web Browser
If you are using the Purple Pi locally:
If accessing from another computer on the same network:
Replace
{Purple_Pi_OH2_IP_ADDRESS}with your device IP (e.g.,192.168.1.100)
OpenCV Installation
Overview
OpenCV (Open Source Computer Vision Library) is used for image processing, video analysis, and AI-based vision applications. On the Purple Pi OH2, OpenCV enables building powerful computer vision and edge AI solutions.
Update System
Install Python libraries and basic tools, Codec Support, GStreamer Support, OpenCV:
sudo apt install python3-pil python3-numpy python3-pip git wget at-spi2-core
sudo apt install libavcodec-dev libavformat-dev libswscale-dev
sudo apt install libgstreamer-plugins-base1.0-dev libgstreamer1.0-dev
sudo apt install python3-opencv libopencv-dev
sudo apt install python3-opencv libopencv-dev
Verify Installation
Expected Output
- Displays installed OpenCV version (e.g.,
4.x.x) - No errors should appear
ROS 2 Installation on Purple Pi OH2
Overview
ROS 2 (Robot Operating System 2) is a flexible framework for building robotics and automation applications. On the Purple Pi OH2, ROS 2 enables development of robotic systems, sensor integration, and real-time communication.
Set Up Locale
sudo apt update && sudo apt install locales
sudo locale-gen en_US en_US.UTF-8
sudo update-locale LC_ALL=en_US.UTF-8 LANG=en_US.UTF-8
export LANG=en_US.UTF-8
Add ROS 2 Repository
Install Required Tools
sudo apt install software-properties-common
sudo add-apt-repository universe
sudo apt update && sudo apt install curl -y
Add ROS 2 GPG Key
sudo curl -sSL https://raw.githubusercontent.com/ros/rosdistro/master/ros.key -o /usr/share/keyrings/ros-archive-keyring.gpg
Add Repository to Source List
echo "deb [arch=$(dpkg --print-architecture) signed-by=/usr/share/keyrings/ros-archive-keyring.gpg] http://packages.ros.org/ros2/ubuntu $(. /etc/os-release && echo $UBUNTU_CODENAME) main" | sudo tee /etc/apt/sources.list.d/ros2.list > /dev/null
Install ROS 2 Humble
Update System
Install Desktop Version
Install Development Tools
Set Up Environment
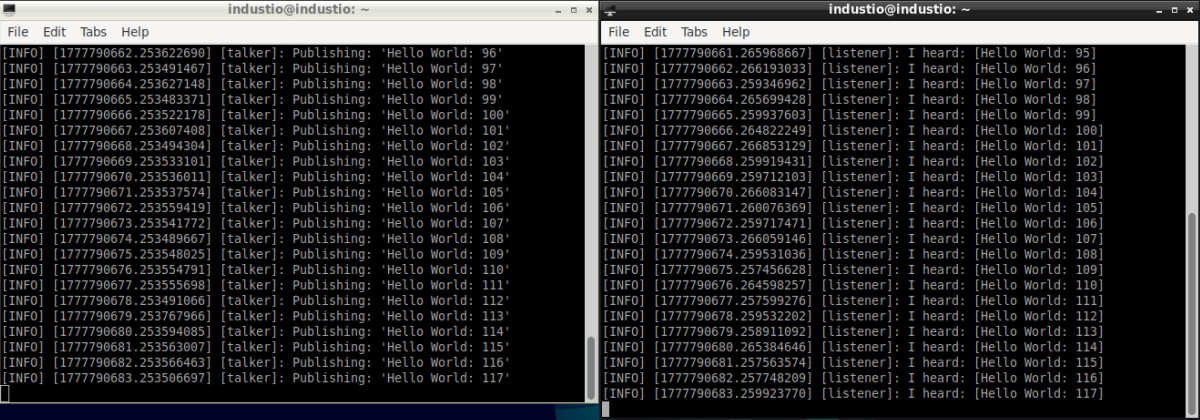
Verify Installation
Terminal 1
Terminal 2
You should see messages being published and received between nodes.
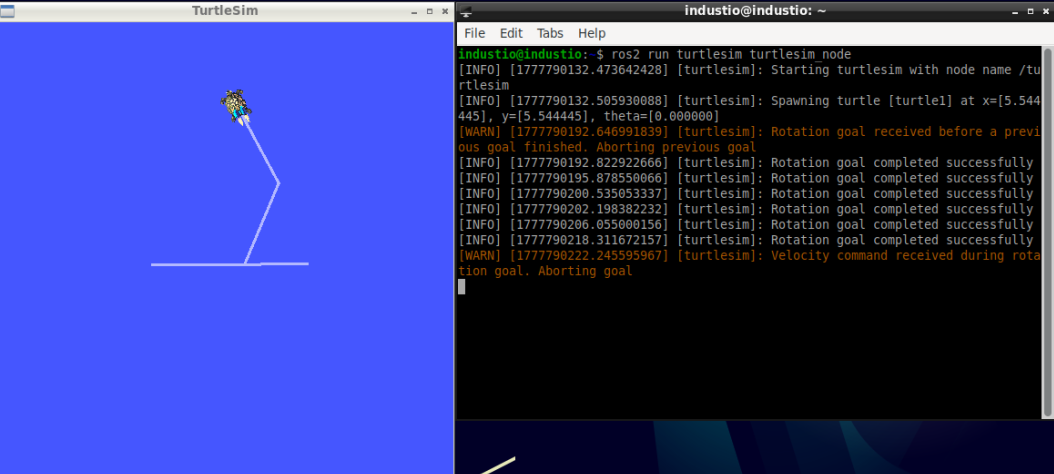
Run Simulation (Turtlesim)
Start Simulator
Control the Turtle
Use your keyboard to move the turtle in the simulation window.

Home Assistant Docker Installation Guide
What is Home Assistant?
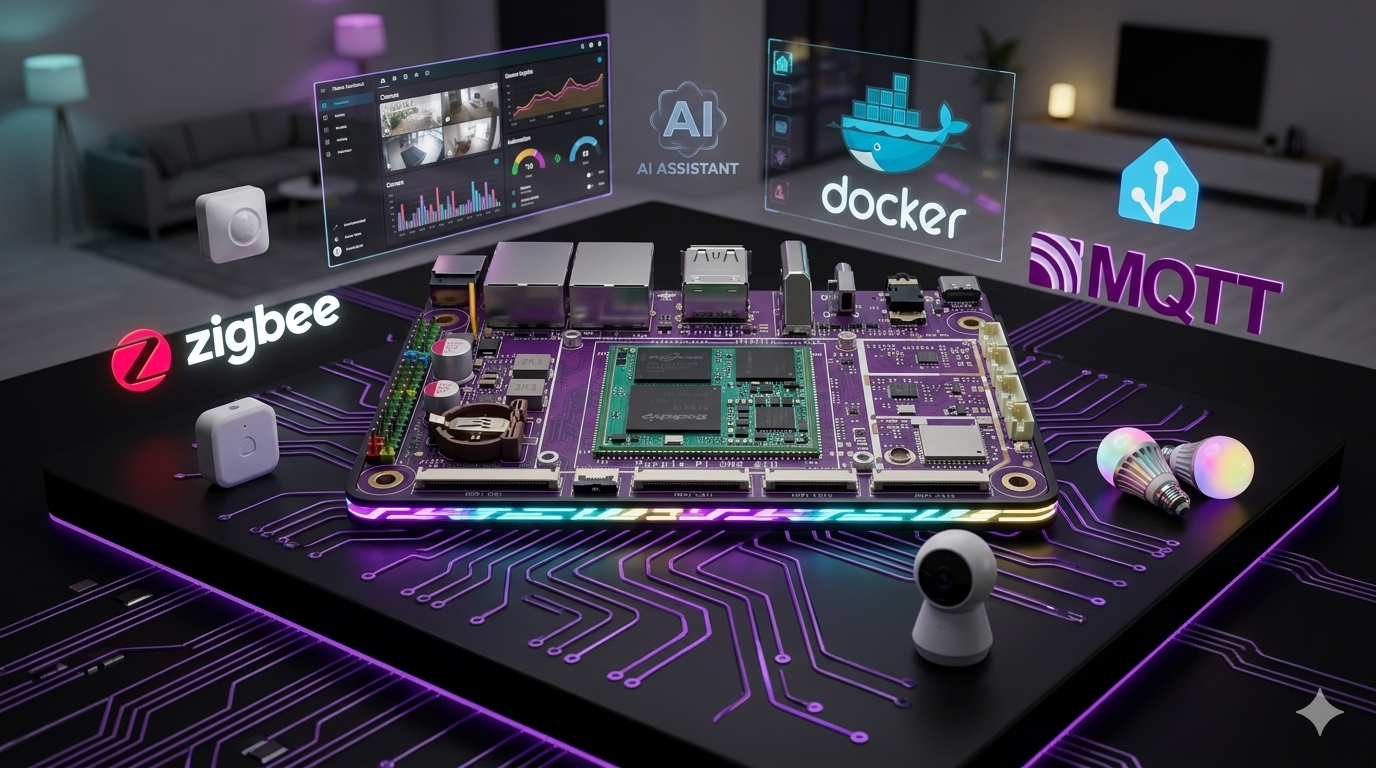
Home Assistant is an open-source home automation platform that runs on a local network and allows you to control smart devices, automate routines, and monitor your home from a single dashboard.
Verify Docker is Working
Check Docker version
Check Docker service status
Run the hello-world test
Check architecture
Install Home Assistant Container
Create required directories
Set permissions
Run Home Assistant Container (Docker)
docker run -d \
  --name homeassistant \
  --privileged \
  --restart=unless-stopped \
  -e TZ=Asia/Shanghai \
  -v /opt/homeassistant/config:/config \
  -v /run/dbus:/run/dbus:ro \
  --network=host \
  ghcr.io/home-assistant/home-assistant:stable
| Parameter | Meaning |
|---|---|
-d | Run in background |
--name homeassistant | Container name |
--privileged | Full hardware access (required for USB/Zigbee) |
--restart=unless-stopped | Auto-restart on boot |
-e TZ=Asia/Shanghai | Set timezone (change to yours) |
-v /opt/homeassistant/config:/config | Store config on host |
--network=host | Use host network (required for device discovery) |
Verify Home Assistant is running
Access Home Assistant
Open browser and go to:
http://<your-purple-pi-ip>:8123
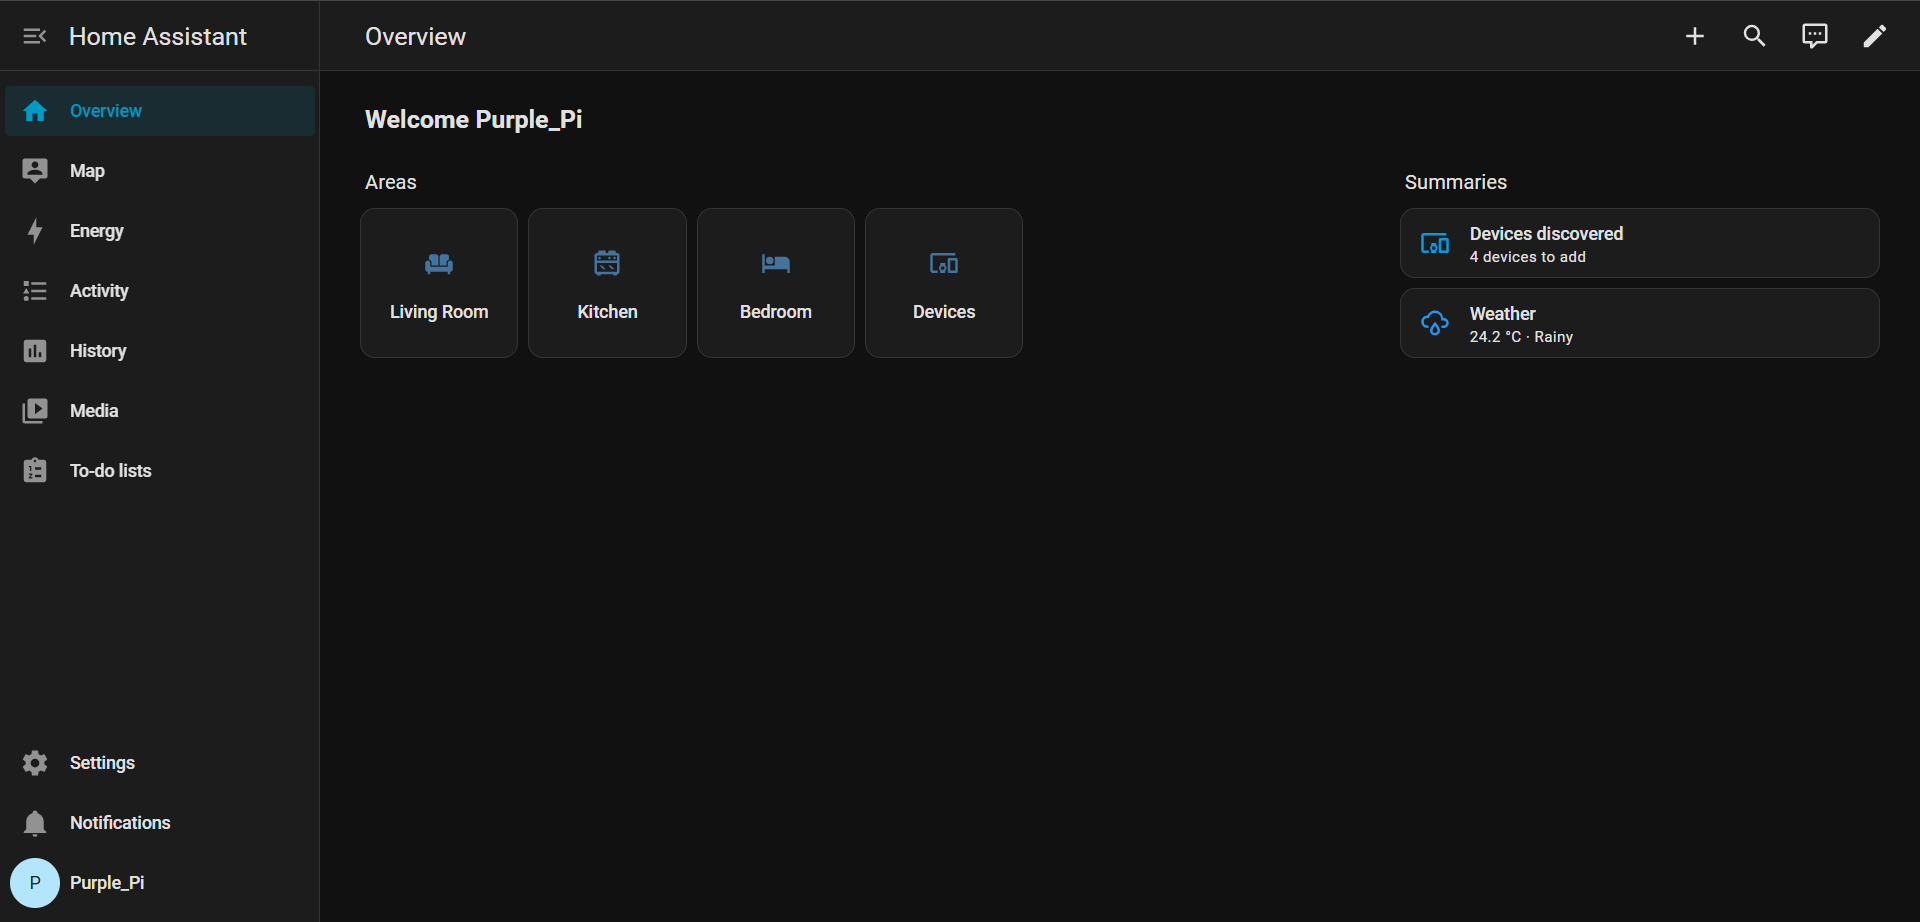
You will be able to see the welcome page. After completing the setup wizard with your username and password, you can access the dashboard page.
Manage Home Assistant Container
| Command | Action |
|---|---|
docker stop homeassistant | Stop HA |
docker start homeassistant | Start HA |
docker restart homeassistant | Restart HA |
docker logs homeassistant | View logs |
docker rm -f homeassistant | Remove container (config stays) |
docker pull ghcr.io/home-assistant/home-assistant:stable | Update HA image |
How to Update Home Assistant
docker stop homeassistant
docker rm homeassistant
docker pull ghcr.io/home-assistant/home-assistant:stable
Then run the Docker run command from above again.